Logfire Cli Installation
macOS and linux
logfire is available on macOS and linux via Homebrew.
$ brew tap logfire-ai/tap
$ brew install logfire
Windows
logfire is available on windows available via Scoop.
$ scoop bucket add logfire-ai https://github.com/logfire-sh/cli.git
$ scoop install logfire-ai/logfire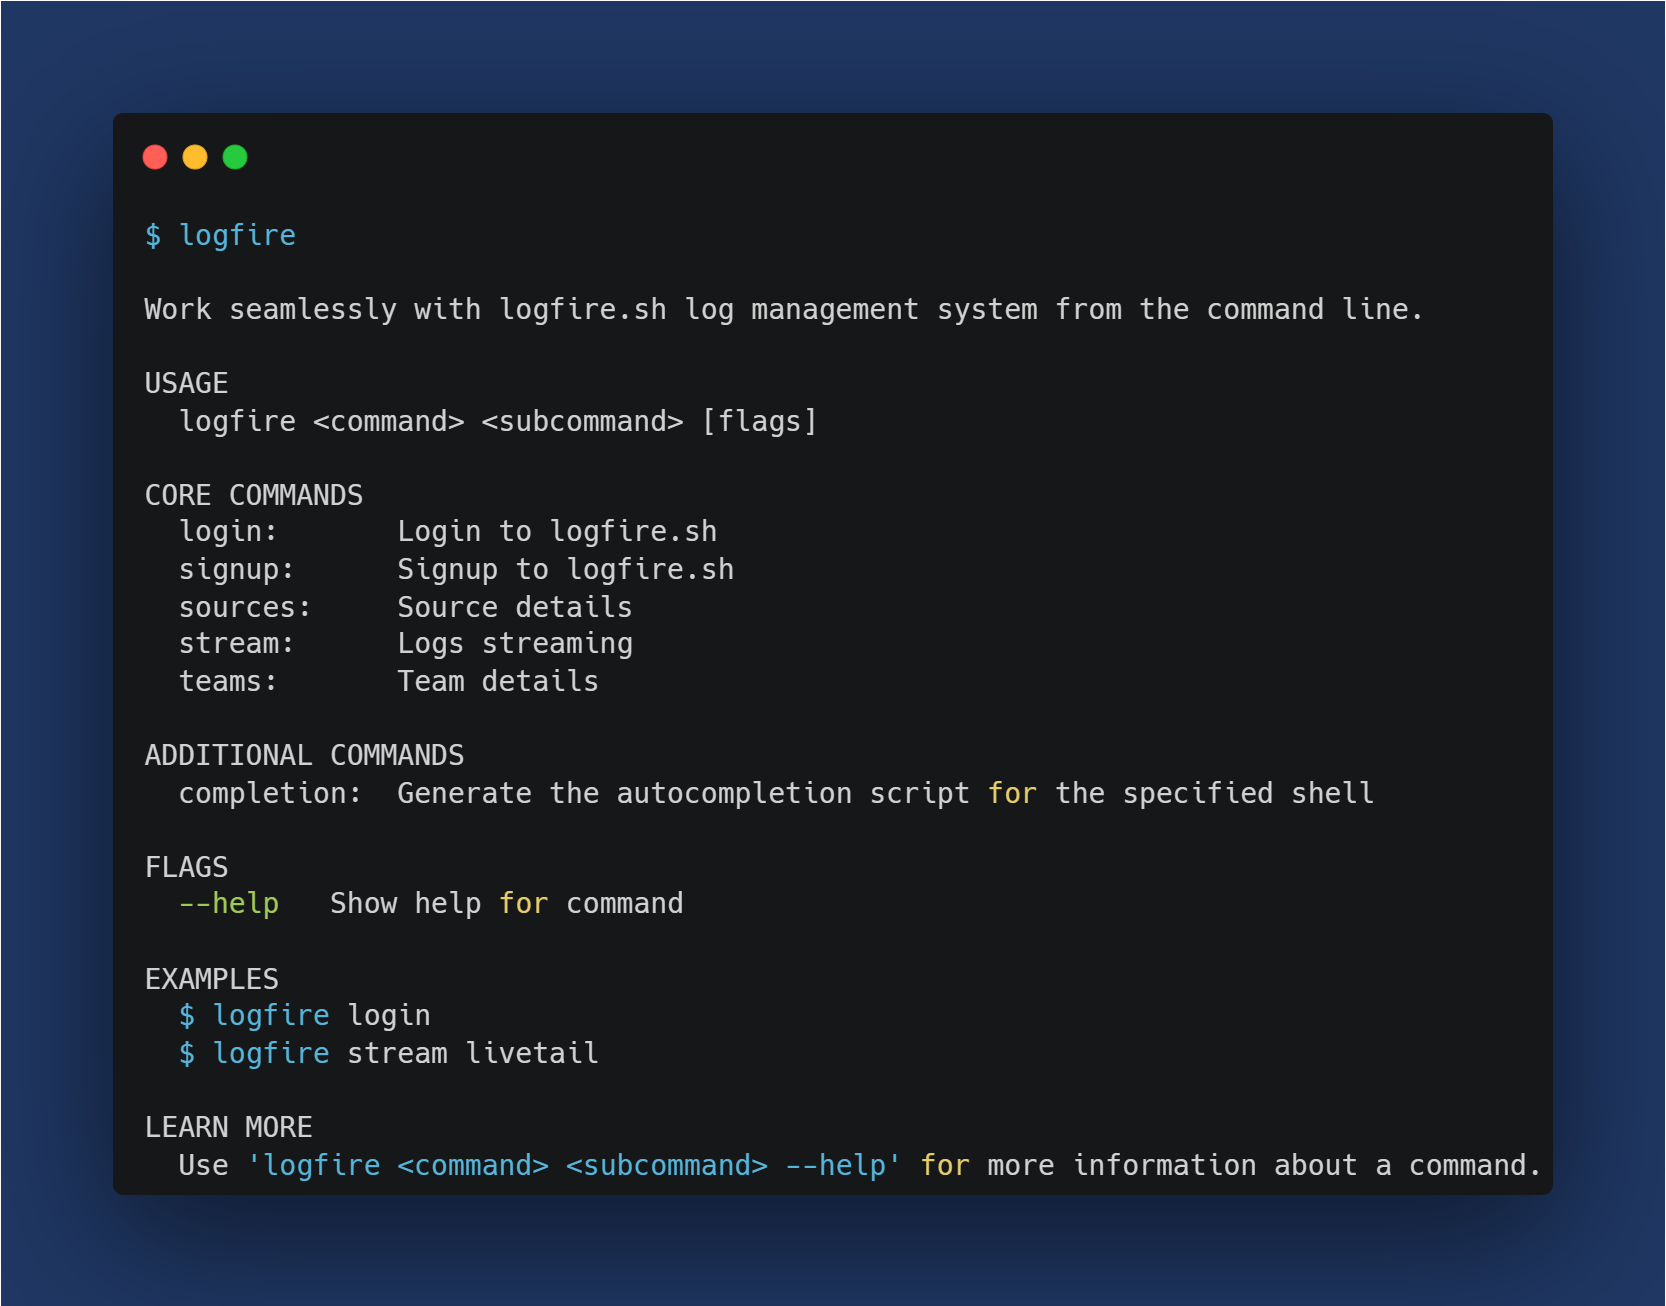
Usage
When you invoke the CLI with the logfire command, you will be presented with an interactive interface.
When Not Signed In
When you’re not signed in, you will be presented with the following options:
> Bootstrap
> Signup
> Login
You can navigate through these options and select the appropriate one to either signup if you don’t have an account or login to your existing account.
When Signed In
Once you have successfully logged in, you will be presented with a wide variety of options to manage and control your logging environment:
> Reset password
> Logout
> Sources
> Teams
> Start Stream
> Views
> Alerts
> Integrations
> SQL
> Update profile
> Round trip
Each option corresponds to an action that will be performed by the Logfire CLI. You can navigate through these options and select the one that you want to perform.
Interactive Commands The interactive commands in the Logfire CLI do not have any additional flags or options. You just navigate to the command that you want to run and select it. The CLI will then guide you through any additional steps needed to perform the action.
Global Options While the Logfire CLI operates through interactive menus, it still supports a few global options that can be passed when invoking the tool:
> --help: Display help information about the tool.
> --version: Show the version number of the Logfire CLI.
These options can be passed when invoking the CLI. For example, to get help you would use:
logfire --help